We’re back again with another OM-1 MD in need of repair! This specimen is in deeper need of assistance than the previous project that only really had a bad light meter, this time we have multiple issues throughout the camera that need addressing. This blog post kicks off the repair process with the initial inspection and some cleanup. We’ll get into the nitty gritty repairs (well… hopefully we can repair it) in future installments!
The camera as it looks without any work done to it yet
Bottom plate is in good condition aside from some wear and tear scratches. It even has the motor drive cover still!
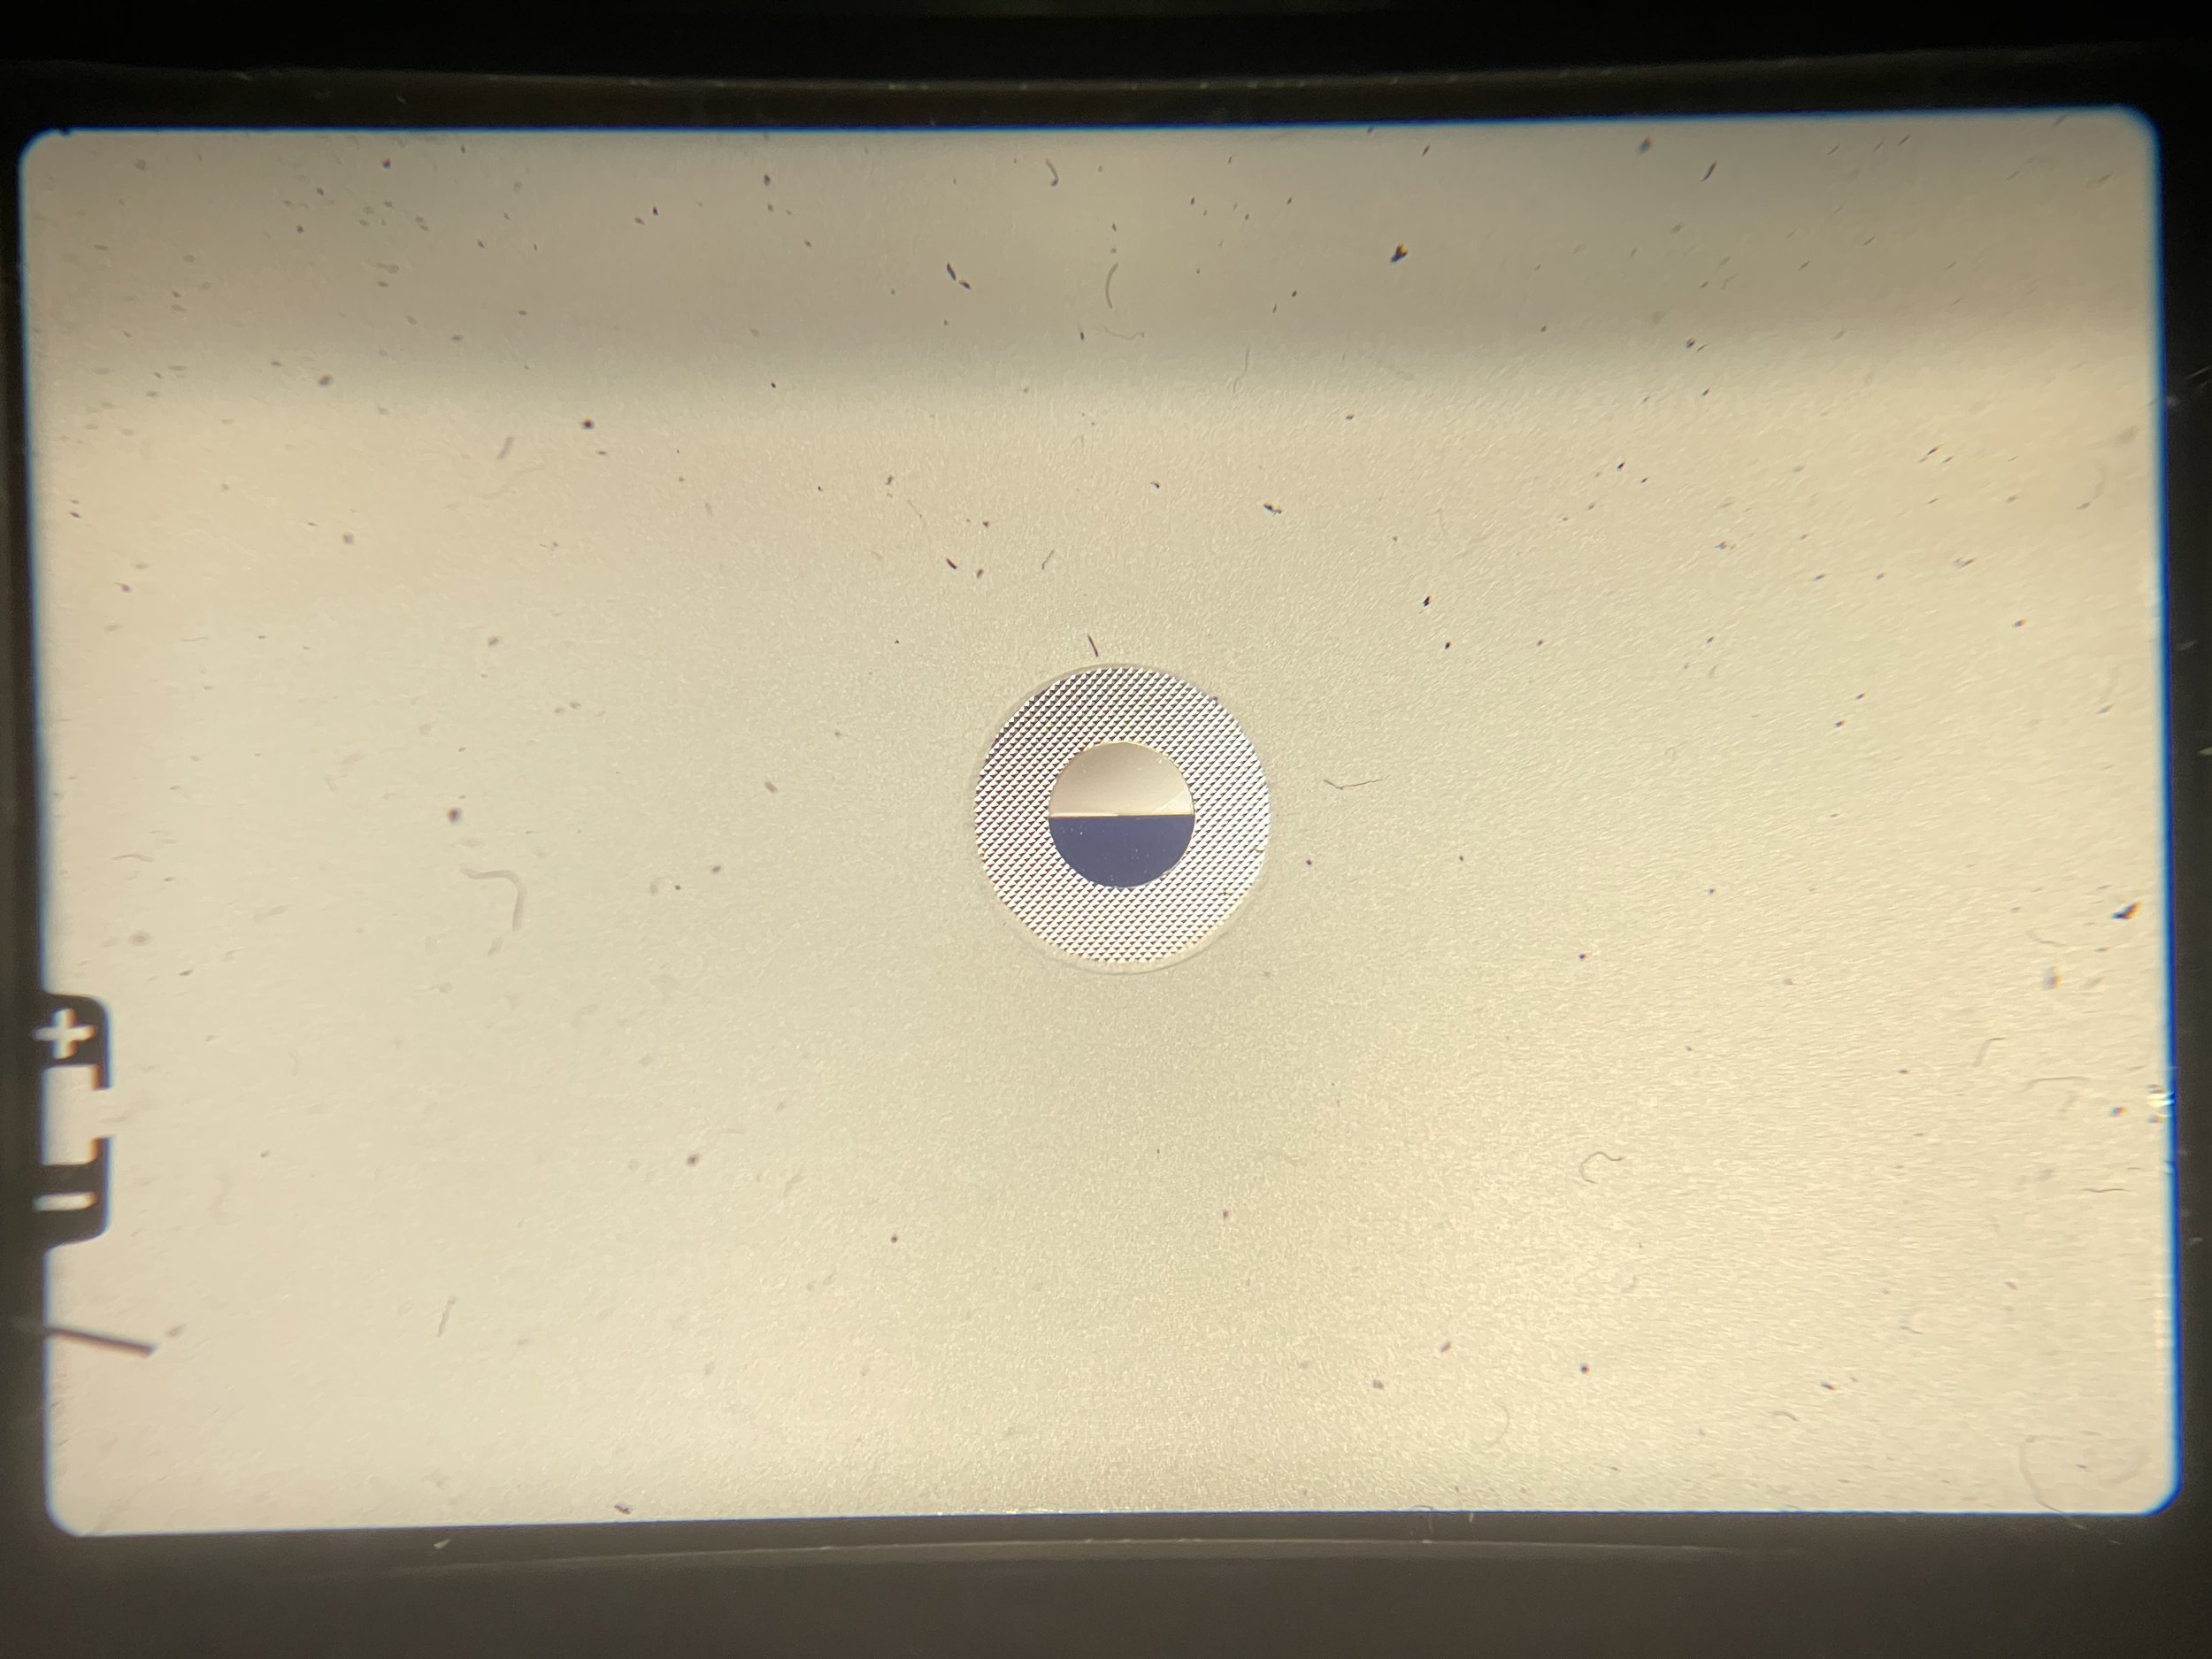
Aside from some easily cleaned dust, the viewfinder is clear and clean - implying that the prism has survived the effects of old deteriorating foam!
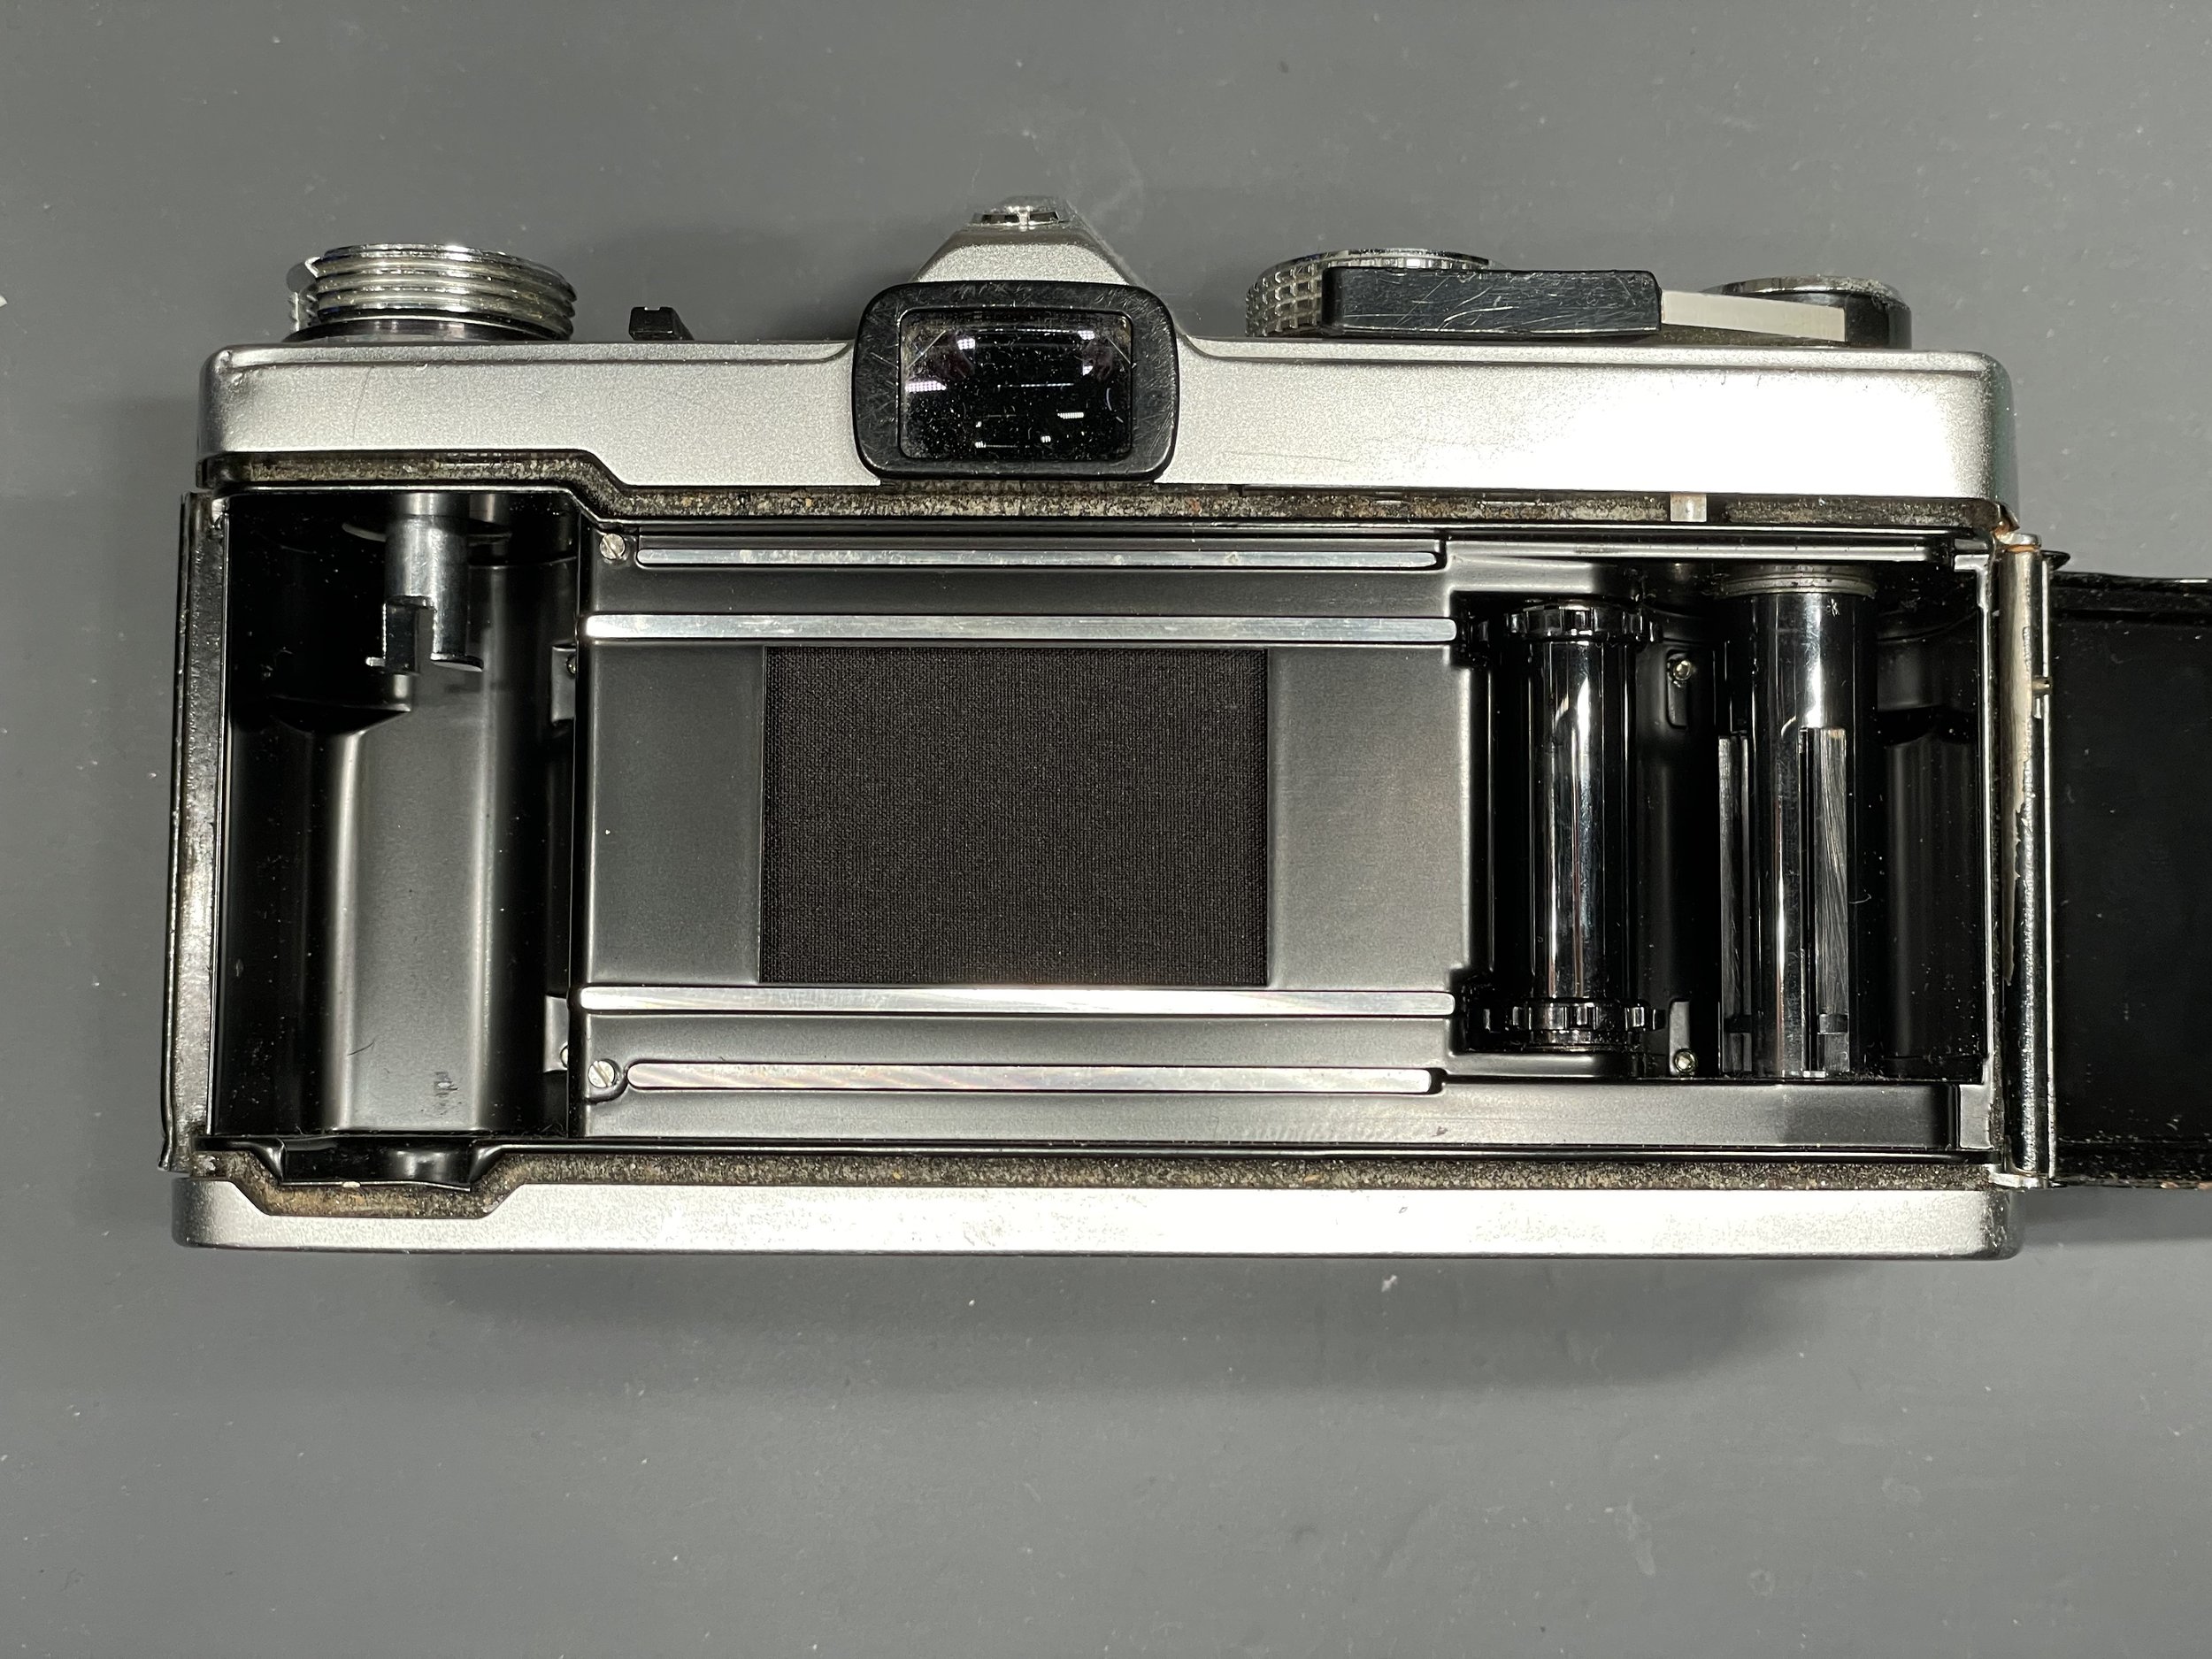
The pressure plate of the film back door of the Olympus OM cameras is where the factory and manufacture date information is stamped. Unfortunately, it’s SUPER easy to swap film back doors between bodies so it’s impossible to tell if this was the original back door. But if it is the original that came with this body, this stamp would indicate that the camera was manufactured in July 1977 (or perhaps July 1987).
A Note on Dating OM Cameras
As mentioned in the caption above, it’s possible to date an OM body based on the stamped text underneath the film pressure plate on the back door. The stamped code is 3 characters long and can be decoded as follows:
First Character - This is a code to indicate which factory manufactured the camera. So far I’ve seen two codes: “S” as seen on this camera and “ス” as seen on all of the other cameras I have either previously repaired or have in the cue. Honestly, I’m not sure what either of these mean, I’m sure technicians for Olympus in the late 70’s and 80’s had a way to decode them and trace it back to a particular factory but it seems like that knowledge is more or less lost now.
Second Character - This indicates the year that the camera was manufactured. Note that this does not include the decade, which needs to be inferred based on when the particular model of camera was manufactured. The OM-1 series was manufactured from 1972 through 1987, meaning that this particular camera is EITHER from the middle of the OM-1 production timeline in 1978 or from the very end of the production timeline in 1988. I’m going to choose to believe that it’s not from ‘88 and that it was manufactured in ‘78.
Third Character - This indicates the month that the camera was manufactured in. It aligns with normal calendar numbering (1 = January, 2 = February, etc.) until October, which is indicated with a 0, November with a “Y”, and December with a “Z”. This camera is stamped with a 7, indicating that it was manufactured in July.
As mentioned above, one can’t be entirely confident in this being the true date of the camera’s manufacture due to how easy it was for repair shops to swap the back doors between cameras. There are several anecdotes online of this being a common occurrence. Unless you know the full history of a camera body from the date that it was purchased and you know the back door was never replaced, you can only be marginally confident that it represents the camera’s manufacture date.
That said, it’s still a neat thing to check on your camera and really, if it’s not accurate who cares? It doesn’t mean that much nowadays anyway, you can believe it if you want!
Diagnosed Problems
1 - Film Back Door Latch Damaged
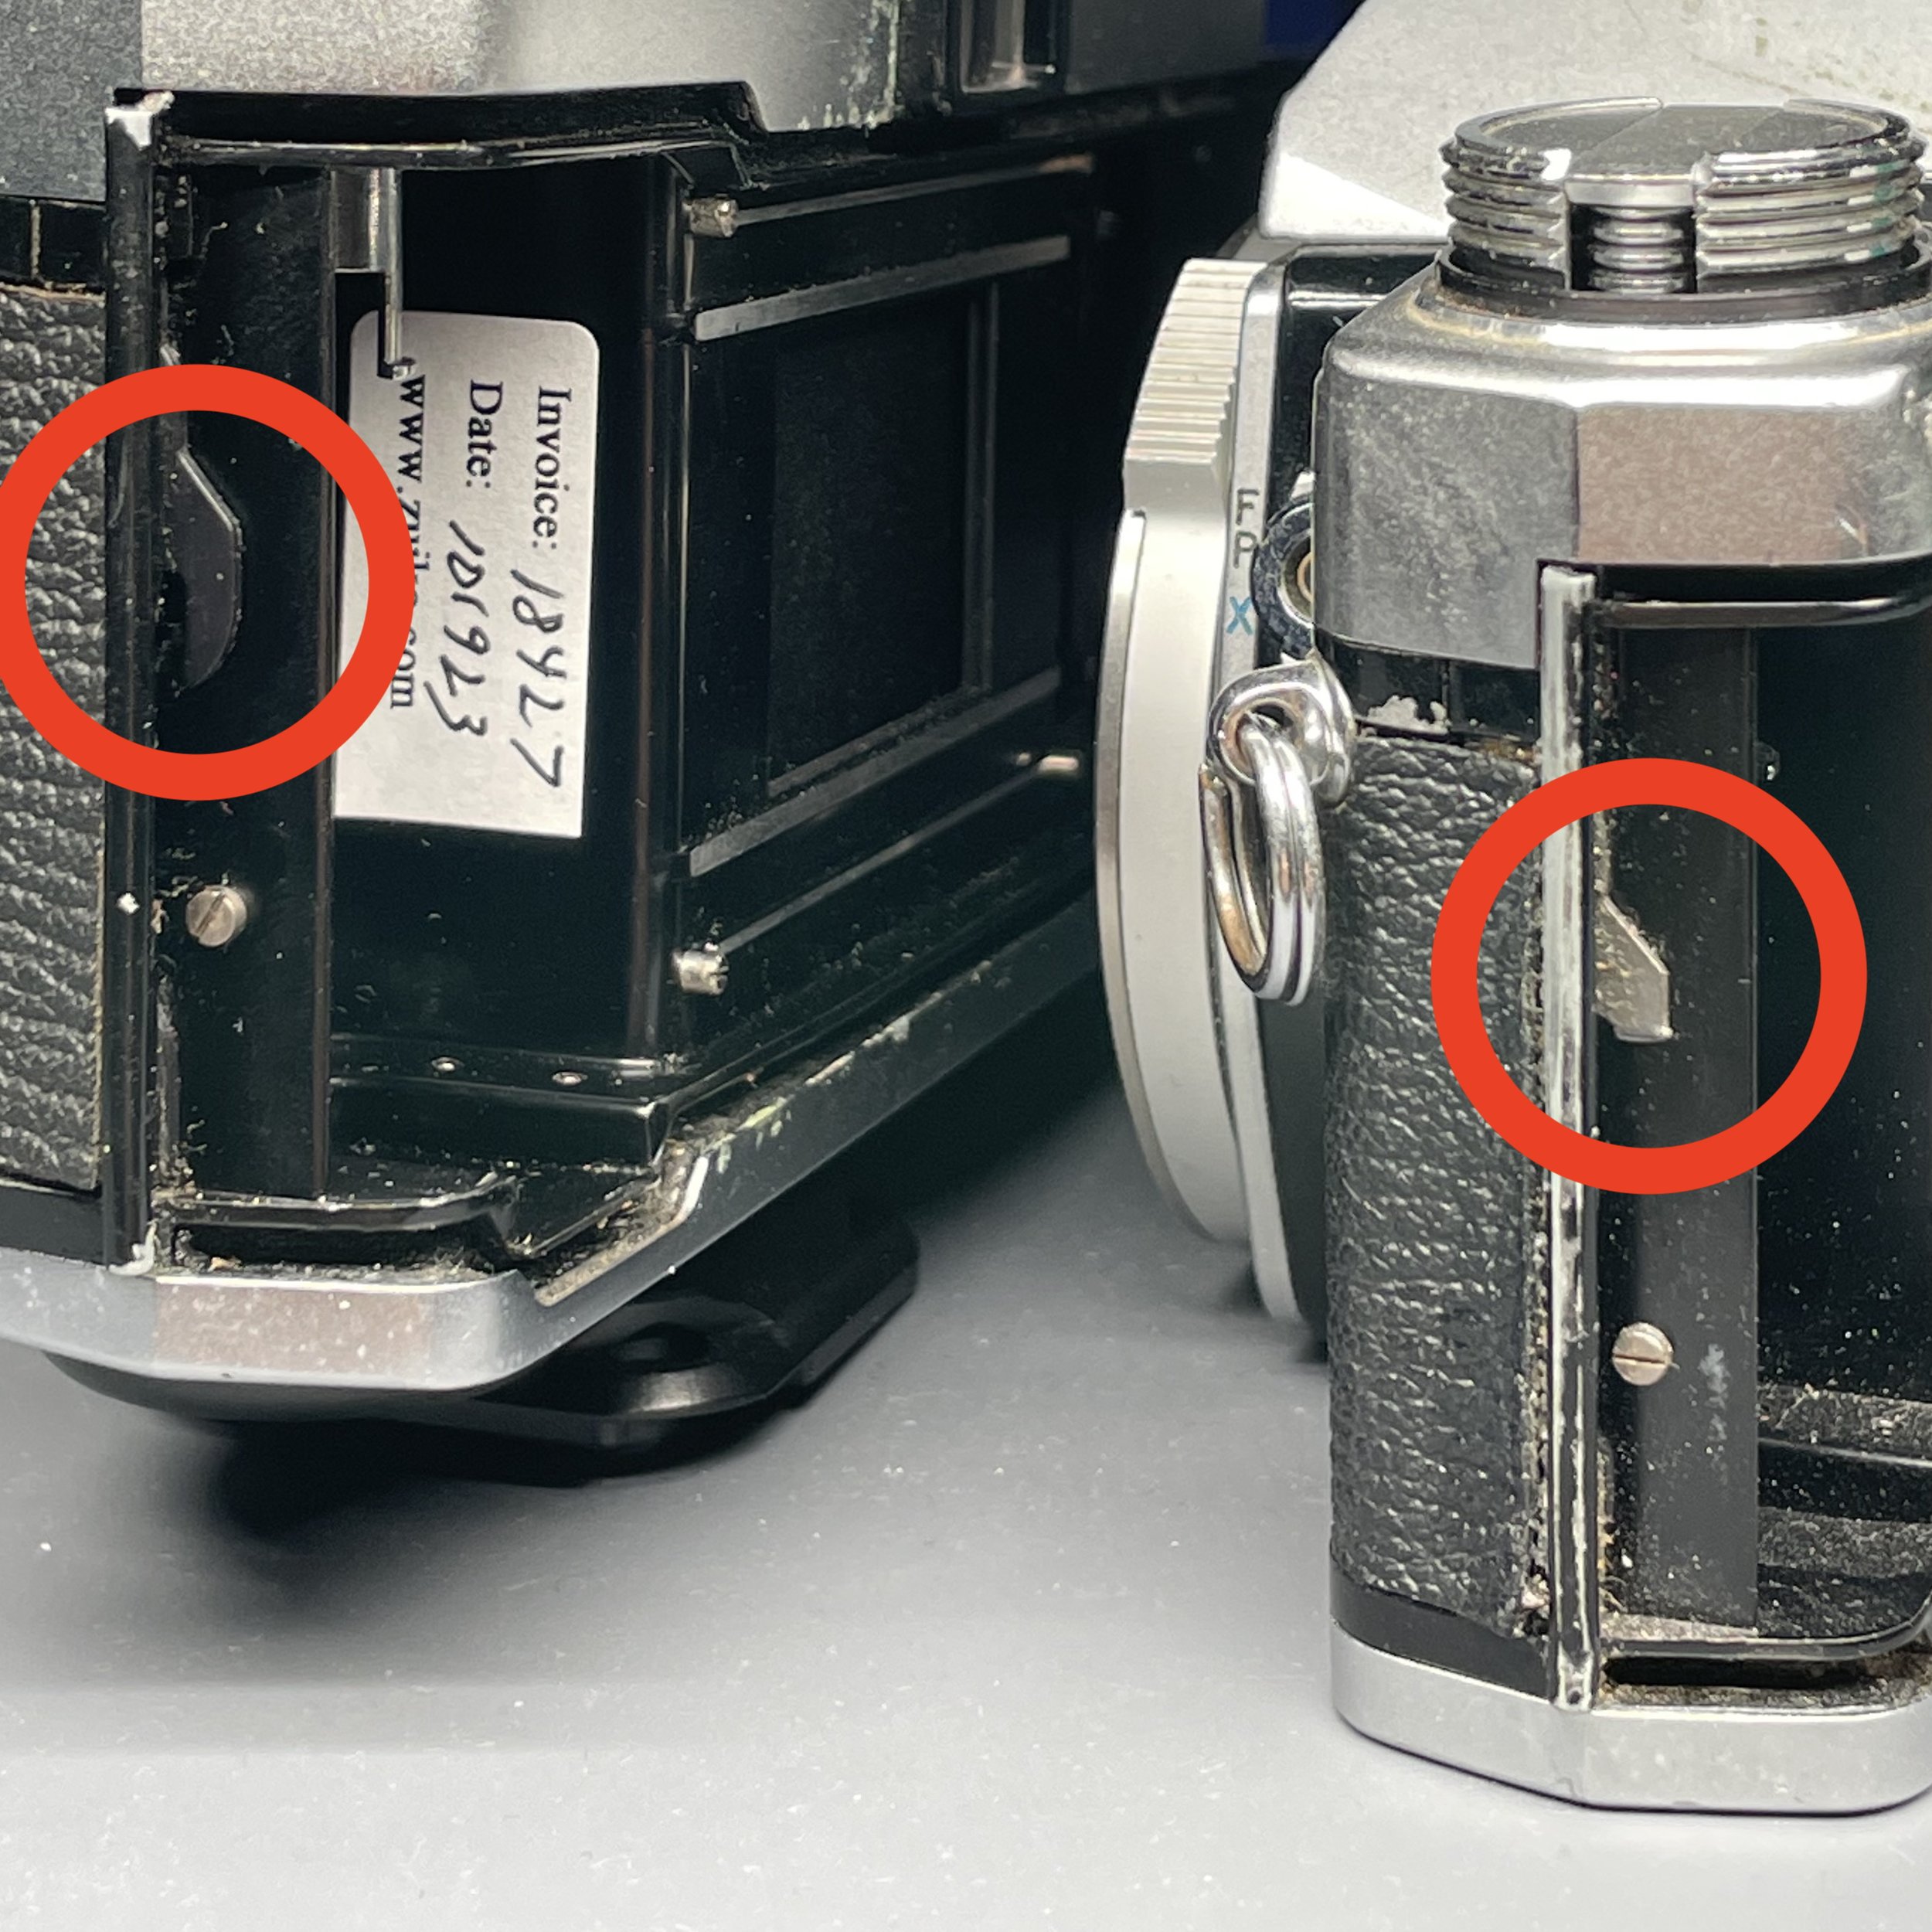
The biggest issue this camera body has going on is a completely damaged latch which normally holds the film back door closed. The latch on this camera must have been forced open at some point, ripping off the hook that interfaces with the door, which isn’t terribly surprising since the door release mechanism no longer moves up and down as it’s supposed to when the film rewind knob is pulled up. Odds are good that some glue or something has seeped into the latch mechanism. Unfortunately, this could have been a mildly easy fix even with the film back door stuck closed, but whoever forced this open didn’t know about that when they forced it open.
Current problem camera is on the right, compared to a working OM-1, recently CLA’d by John Hermanson (zuiko.com) on the left. You can see how the hook that’s normally there to catch the film back door has been sheared off on our current patient.
2 - Mirror Lock-Up Feature Doesn’t Raise the Mirror Entirely
A great feature of the OM-1 that was actually not included in any of Olympus’ future OM series bodies (as far as I know) was the option to manually lock up the mirror prior to taking a photo. This is a pretty critical feature for photographers doing long exposure work since it eliminates the potential vibration that would come with the mirror snapping up moments before the shutter opens. This particular body has a faulty mirror lock-up feature, when the knob just behind the shutter speed dial is turned to move the mirror, it only makes it about 25% up before stopping. When the shutter is triggered, the mirror still snaps fully up so this is something specific to the lock-up knob.
Here’s the camera with the mirror lock-up knob in the “raised” position. As you can see, the mirror is only partially raised despite the knob being fully vertical.
A better view of the mirror not reaching its full “locked-up” position despite the knob being turned.
Here, I’m holding the shutter open and mirror up with the “bulb” shutter speed. As you can see, the mirror DOES reach its full upright position when the shutter is fired. Meaning this issue is isolated to the shutter lock-up feature and not the overarching operation of the mirror.
3 - Flash X Sync Does Not Trigger
While testing the camera’s shutter speeds I also test the flash sync timing. We’ll get into the shutter speed tests in a bit, but for the sake of a nice clean list I’m mentioning it here. While the FP sync triggers correctly (and within tolerance I might add), the X sync does not trigger at all. Which can be a problem for photographers using an OM-1 in 2024 and beyond since the odds that they’d be pairing this camera with an electric flash instead of an actual flash bulb is much higher and you’d want to use X sync speeds for an electric flash. My hunch is that there’s a disconnected or corroded wire somewhere inside of the camera causing this problem - the fun part is that the X sync circuit is buried inside of some assemblies I haven’t dug into yet during a repair, I’m sure this part will be the most interesting to try and fix!
4 - Additional Minor Issues and Benchmarking
The first three issues listed above were the biggest the camera displayed while I ran it through its paces, but beyond those we will also be addressing these minor issues:
Overall, the camera’s exterior could use a cleaning
The light seals need replacing
The meter is inaccurate but consistent, we’ll address this and also give it a mod to be able to work with 1.5v button cells without an adapter
Finally, after the once-over I put the camera onto the Reveni Labs camera tester to benchmark its shutter speeds in case I needed to get in and adjust the shutter speeds - which would currently be a bit out of my depth, that would be a SERIOUS repair to delve into the shutter speed assembly and a big learning experience for me.
On the shutter speed tester. The black box sitting behind the camera’s shutter has three sensors in it that detect when they’re lit by the LED panel under the camera in order to measure how fast the shutter is opening and closing (and if there are inconsistencies across the photo area - hence the 3 different sensors).
Fortunately, these Olympus cameras seem to be pretty great at maintaining accurate shutter speeds over their lives and this particular body continues that trend! With the exception of being just about 2ms outside of tolerance on the 1/8s speed setting this camera body is all within the repair manual’s recommended tolerances! Phew!
I keep my repair logs in a spreadsheet for future reference and notetaking. Here are the results of the shutter speed test. The recommended tolerances are listed in the row below the speed being tested. Measurements are taken in milliseconds and are averages of 10 readings on the middle sensor. Though I do keep an eye on the left and right sensors and if they have any extreme deviation from the middle, I’ll note it.
Repair: Start!
To kick things off, we’re going to remove the top cover and begin the cleaning process and also see what’s happening “under the hood” so to speak!
To do a better job of thoroughness with this blog post I’ll list out the order of operations repair techs should take to remove the top cover of an OM-1.
Removing the Top Cover
1. Remove the threaded hot shoe ring.
I use my needle nose tweezers to grip the two grooves of the ring for this, but you could also theoretically use a spanner wrench for this - mine doesn’t fit though.
2. Remove the Threaded Decorative Screw on Film Advance Lever
You can use a spanner for this, but you run the risk of scratching the top of the screw (like I did here earlier - ugh!). Always start with one of these rubber lens tools to avoid unnecessary damage. I bought a set from B&H for fairly cheap.
3. Remove Plastic Accent from Film Advance Lever
This piece just lifts off of the lever.
4. Remove the Film Advance Lever
Again, this just lifts off of its post. On this camera it took a bit of wiggling and persuasion. Probably all needs a good cleaning.
5. Remove the Threaded Ring from below the Film Advance Lever
Now it’s time to get the spanner wrench out!
Once you loosen it a bit with the spanner, it’s easy to unscrew the rest of the way by hand.
6. Unscrew the Film Rewind Knob & Remove it
The rewind lever unscrews counterclockwise from the shaft that typically connects it to the film canister inside the camera. You’ll likely need to stick something between the spokes of this shaft inside the camera to keep it from spinning while you unscrew the rewind lever.
WATCH OUT! There’s a metal disk directly beneath the knob assembly that acts as a spring to keep the knob snapped open or closed. It will try to fall out on you, which isn’t a problem if it does but you don’t want to lose it. The same goes for the lever handle itself. Be careful when handling this assembly.
7. Unscrew the Two Screws Beneath the Rewind Knob
Remember to use a JIS bit (I’m using a size #00 here) and not a Philips bit to avoid stripping the screw heads.
8. Lift off the Top Cover
Remember to note the ASA/ISO setting that the camera is set to before lifting the top cover off. It is recommended that you set the dial to one of the numbers highlighted in yellow as these are noted on the galvanometer with scribe lines. I prefer setting it to ASA 1600 since that’s the easiest scribe line to find.
REMEMBER! There is a washer that lives on the hot shoe port underneath the top cover, you can see it in this photo. Forgetting to remove this will result in you flinging it onto your lap or the floor while you flip the camera around to inspect it (ask me how I know…). There’s also usually a brass washer on the film advance lever shaft underneath the top cover, though that seems to be missing from this camera.
Internal Inspection and Cleaning
Underneath the top cover.
Now that we’re inside of the top cover we can observe that somewhere along the line another technician has worked on this camera. The prism foam has already been removed and there’s a screw missing from the ring that the film rewind knob’s shaft sits in, making it flop loose when the top cover is removed. Fortunately this doesn’t really affect the functionality of the camera since the two screws that get removed from under the rewind knob also hold this ring in place, so as long as the holes are lined up during installation that last missing screw isn’t a big deal.
Normally, there’s a screw in the upper right hole that holds this plate down while the top cover is off. Also note the spring on the post in the top left of the photo. This WILL fall off and get lost if you’re not careful. This spring is what keeps the film back door latch (the part that’s broken on this camera) pushed toward the bottom of the camera when you’re not pulling up on the film rewind knob to open the door.
The last thing I took care of before putting the camera down to write this post was cleaning all of the pieces of the top cover:
All cleaned up and drying! Looking much better!
That’s as far as we’ve gotten with this camera for now. Next begins the actual process of repairing the problem elements, stay tuned!


